
Testing the Jackery Solar Vault 3 Pro Max: an ultra-modular balcony solar battery
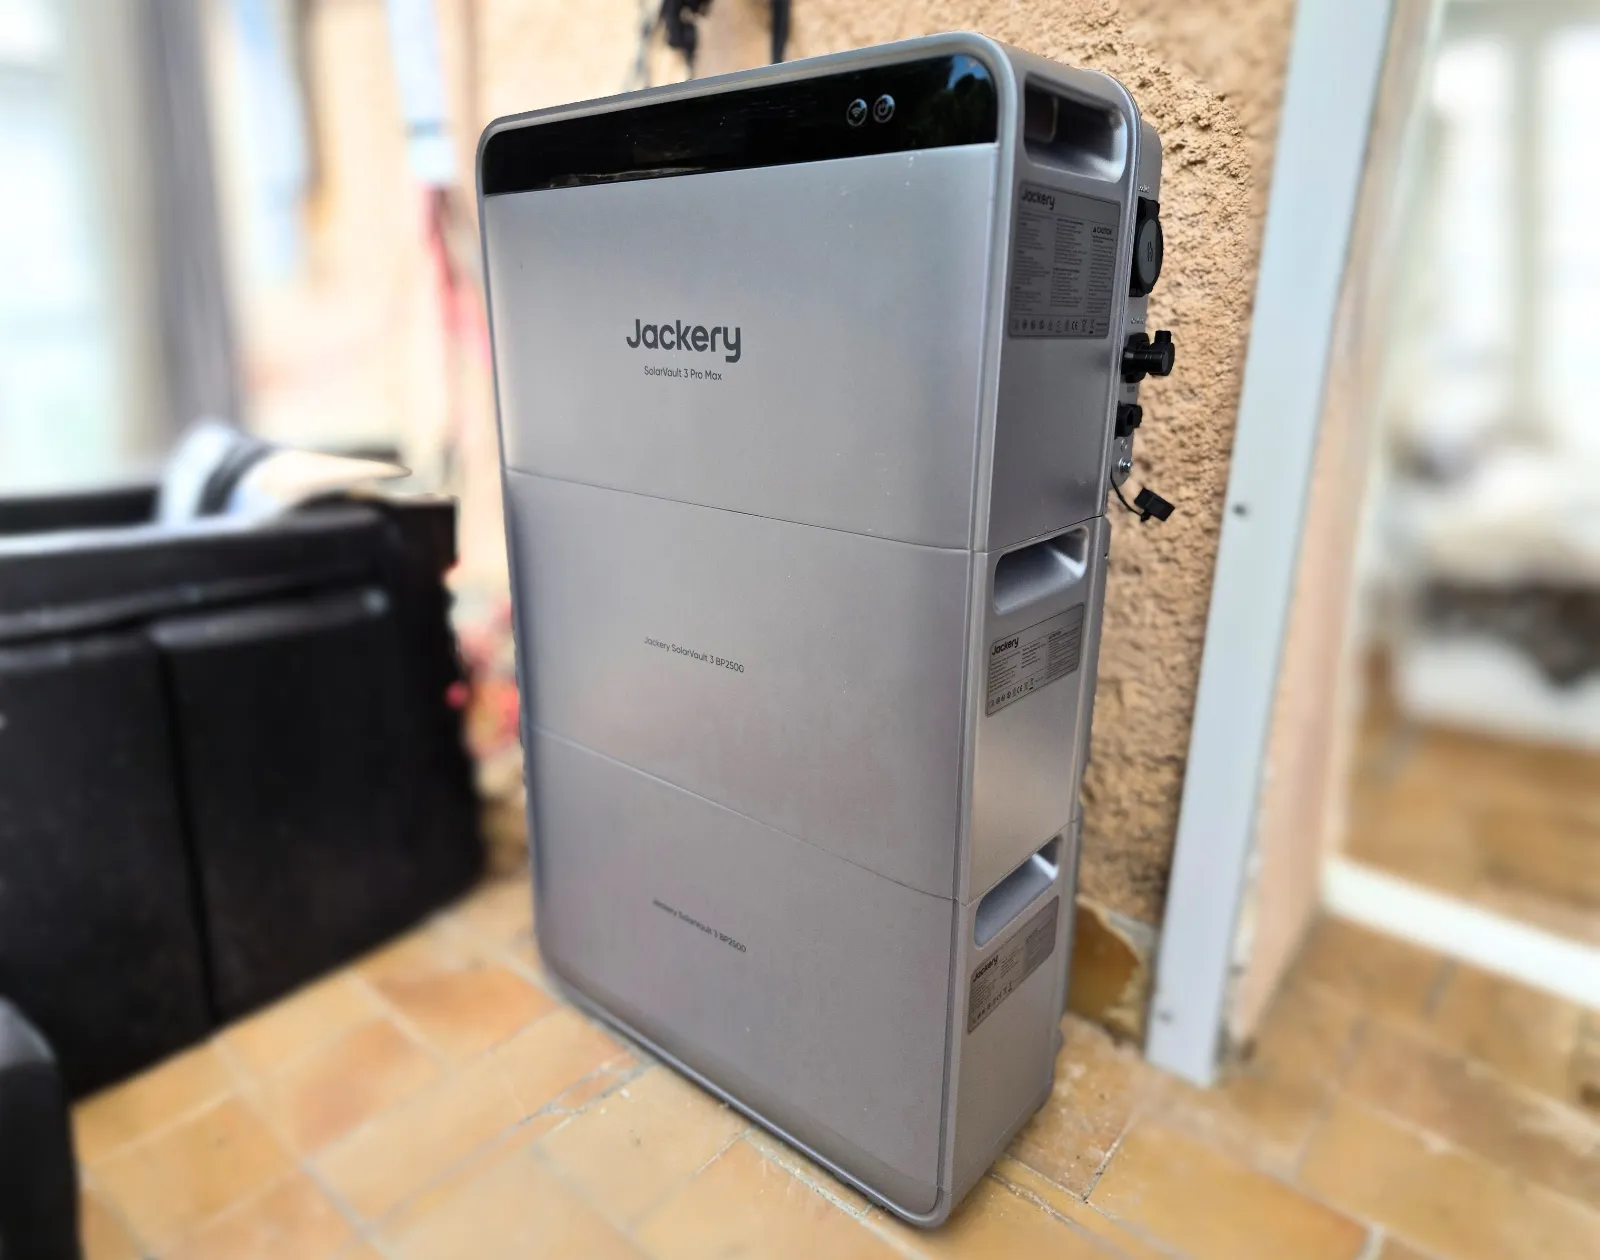
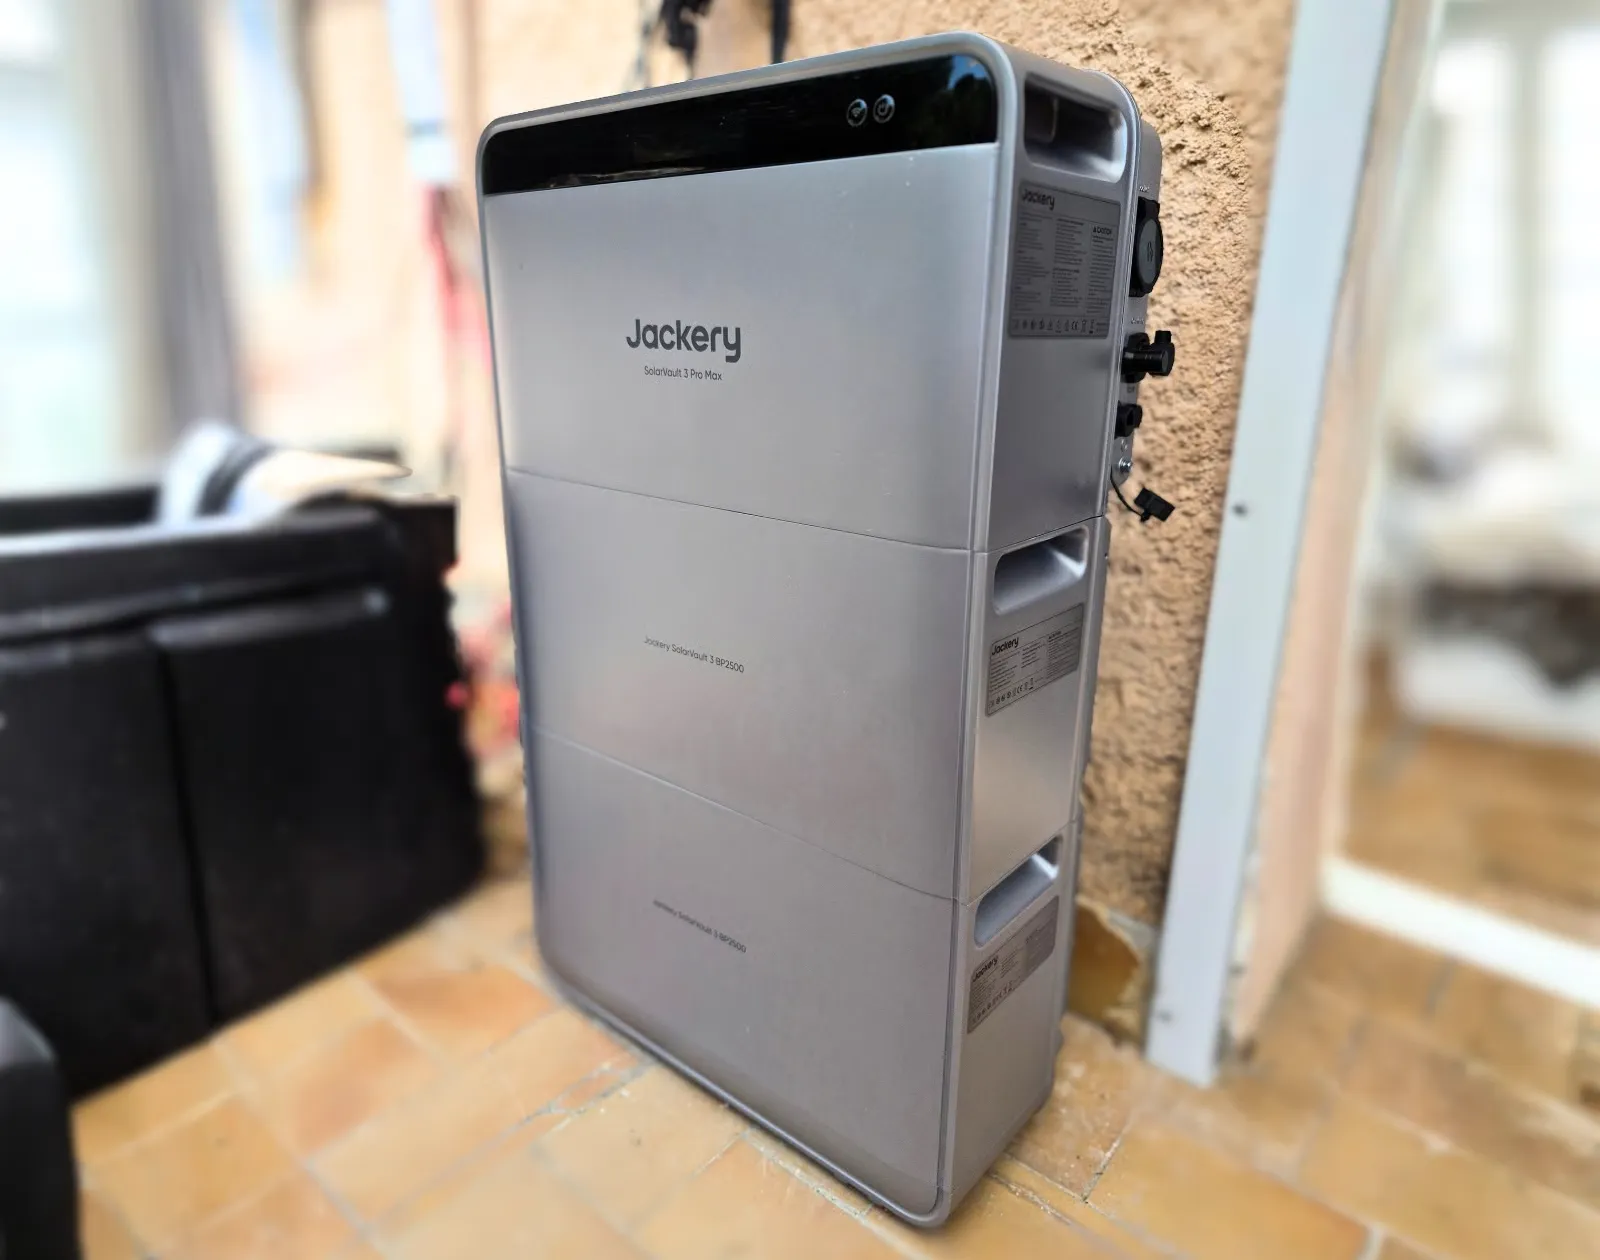
The era of bulky, expensive home batteries that can only be installed by professionals is over. It is now possible to equip oneself with a high-performance, plug-and-play solar storage system that can be customized to meet individual needs. The Jackery Solar Vault 3 Pro Max, which we tested, is one such example. This stackable battery can handle high photovoltaic power, deliver up to 2500 W to households, and offers storage capacity as well as price options that can be fully customized.
When it’s placed discreetly in a corner of the balcony, it’s hard to imagine that this battery can cut our electricity bill in half. Jackery, yet another Chinese startup in the home battery space, sent us a configuration that’s far from compact: a Solar Vault 3 Pro Max unit paired with two expansion batteries, giving a total storage capacity of 7.56 kWh.
This model, released in spring 2026, is fully stackable, which helps reduce the space it occupies on the ground. This allows users to choose their storage capacity, ranging from 2.52 kWh up to a maximum of 15.12 kWh. In our configuration, the battery tower is about 80 cm tall including its base, at a price of 2,157 €.
This modularity is also convenient for installation, as each unit weighs around 25 kg. Unlike other high-capacity batteries that are a single block weighing nearly 100 kg, the Solar Vault 3 can be handled by one person without tools, unit by unit.
Technical Specifications of Jackery Solar Vault 3 Pro Max
DC solar features
Maximum PV voltage range.
16 – 60 V
Maximum PV input current.
4 x 28 A
Maximum PV short-circuit current (Isc)
4 x 32 A
Maximum MPPT input power.
4000 W
(4 x 1000 W)
Number of MPPTs and MC4 inputs
4 / 4
AC grid features
Maximum output power.
2500 W
(limited to 1600 W when used alone)
Nominal output current
10,9 A
Nominal output voltage and frequency
Single-phase, 230 V @ 50 Hz
Max input power.
3680 W
(Limited to 1800 W if used alone)
Max input current.
16 A
Power factor
0.8
AC outlet specifications
Max output power.
2500 W
Nominal output voltage and frequency
Single-phase, 230 V @ 50 Hz
Nominal output current
10.9 A
Max output current (bypass mode)
3680 W
Max input power.
2500 W
Max input current.
10.9 A
Power factor
0.8
Battery specifications
Chemistry
LiFePo4
Storage capacity
2.52 kWh
(Modular, increasing by 2.52 kWh per unit up to 15.12 kWh with six units stacked)
Nominal voltage
41.6 V DC
Voltage range
32.5 – 45.5 V DC
Max charge and discharge current.
46 A / 48.8 A
Estimated lifespan
6000 cycles @ 70 % SOH @ 90 % DOD
Other features
Operating temperature range
-20 to +55 °C
Protection rating
IP 65
Weight
26.5 kg
(single unit)
Dimensions
485 x 248 x 282 mm
(single unit)
Communication
Wi-Fi 2.4 GHz
Bluetooth
Ethernet
Integration
Third-party meters
MQTT
Connecting multiple solar panels with different orientations
At the top of the stack lies what could be considered the “brain” unit of the battery. In addition to a 2.52 kWh storage capacity, this module features four pairs of MC4 solar connectors on its left side, capable of handling a total of 4,000 W. Each pair is connected to its own 1,000 W MPPT tracker, which is a significant advantage: it allows connecting solar panels or groups of panels with very different orientations and inclinations without reducing overall output.
Also read
Ecoflow Stream Ultra X review: how good is the XL version of this balcony solar battery?
This is particularly useful for setups with multiple photovoltaic installations—such as one horizontal on a south-facing roof, another on an east-facing facade, and a third vertical along a fence—without compromising total production.
An off-grid outlet limited to 2500 W
This outlet provides backup power in the event of a power outage. You can connect devices such as a refrigerator, computer, internet router, and portable air conditioner to it. However, be prepared with a very long extension cord and a power strip if the battery is far from the devices that need to be powered in an emergency.
Below, there is a screw-lockable AC network connector (of the PV-AC type from the Chinese manufacturer CNNT), to which the provided network cable is connected. It is through this cable, connected to a household outlet, that the battery supplies electricity to your home’s electrical network (up to 2500 W).
An Ethernet port, but no direct network connection to the meter
An Ethernet port, which allows connecting the battery to the internet with greater stability than 2.4 GHz Wi-Fi, completes the connectivity options. It is a pity that there is no LAN/RS485 port, which would enable direct connection of the Solar Vault 3 Pro Max to the essential connected meter for highly precise optimization of self-consumed solar power.
Finally, one will notice the presence of a grounding screw, as on all batteries with metal casings. We would have preferred an equipotential connection directly integrated into the AC power outlet, which would be simpler and more aesthetically pleasing. However, this grounding is essential if the battery is used only in offline mode.
Installing the Jackery Solar Vault 3 Pro Max
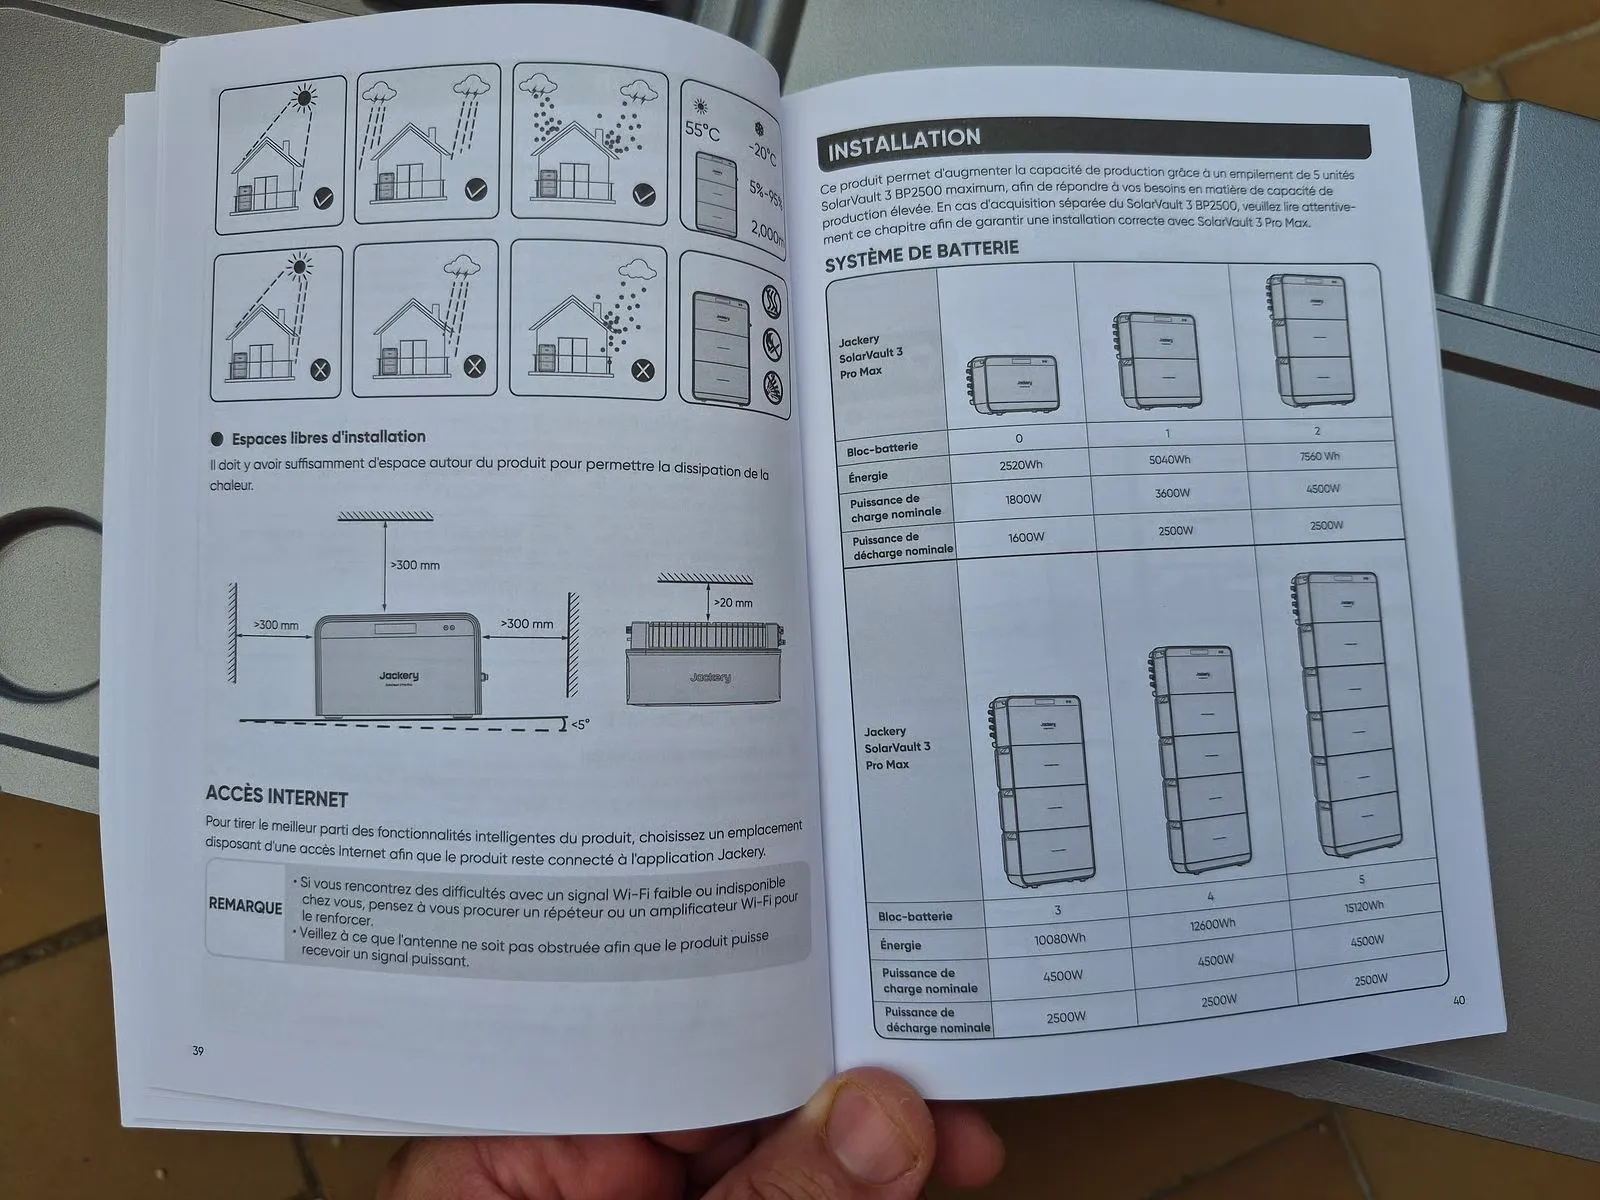
The Solar Vault 3 is one of the simplest batteries to install among those we’ve tested so far. You just need to place the base (sold separately for 119 euros), which isn’t mandatory but helps raise the unit by 6 cm to protect it from puddles on the ground, among other things. On this base, you simply insert any additional BP2500 batteries. We have two in our case, but the system can support up to five, in addition to the main Solar Vault 3.
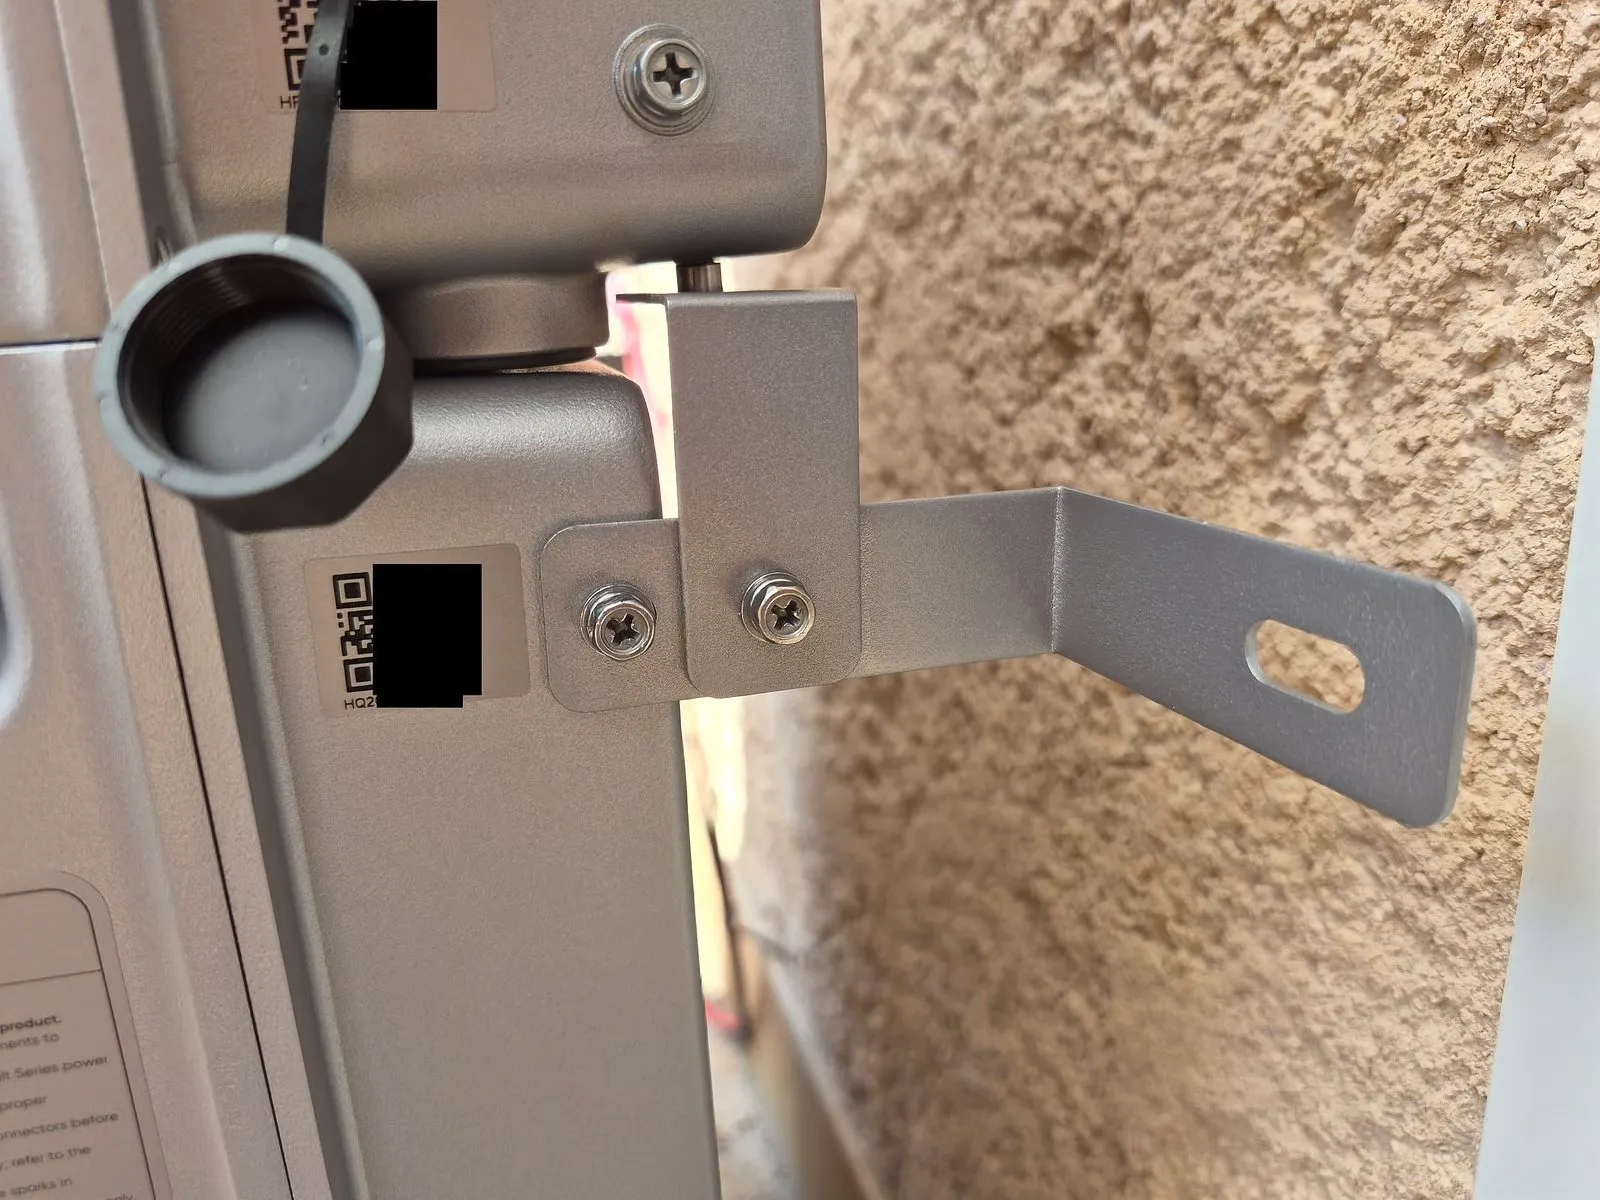
Each module is stacked on top of the other. The process is simple but must be done carefully to avoid damaging the electrical connections, which are made using fused connectors located on top and beneath each additional battery. Finally, the Solar Vault 3 is placed at the top of the tower. Each unit can be mounted to the wall (which is highly recommended to prevent tipping), but oddly enough, there is no mechanism to secure the units together. Be careful not to try lifting or moving the entire structure, as this could risk a sudden disconnection or damaging the connectors.
Connecting the solar connectors and network cable
Once the module assembly is complete, wiring proceeds. Since our solar power system consists of two arrays—one with two panels and the other with six panels—we opted for parallel “Y” type adapters. This way, two panels are connected to each pair of MC4 connectors, resulting in a total installed capacity of 3600 Wc. Note that with a maximum solar input voltage of 60 V, series wiring is not recommended.
We then connect the network cable to the dedicated port on the battery side and to a waterproof household outlet on the housing side. Caution: never connect a battery to an outlet you are not familiar with. It is highly recommended to use a robust outlet wired with at least 2.5 mm² cable on a dedicated line directly connected to the main electrical panel and protected by a differential switch as well as a 16 A circuit breaker (in the case of the Solar Vault 3).
To achieve an extremely stable internet connection, we also connected the battery via Ethernet, although the Wi-Fi connection worked properly during our testing.
Installation of the smart meter
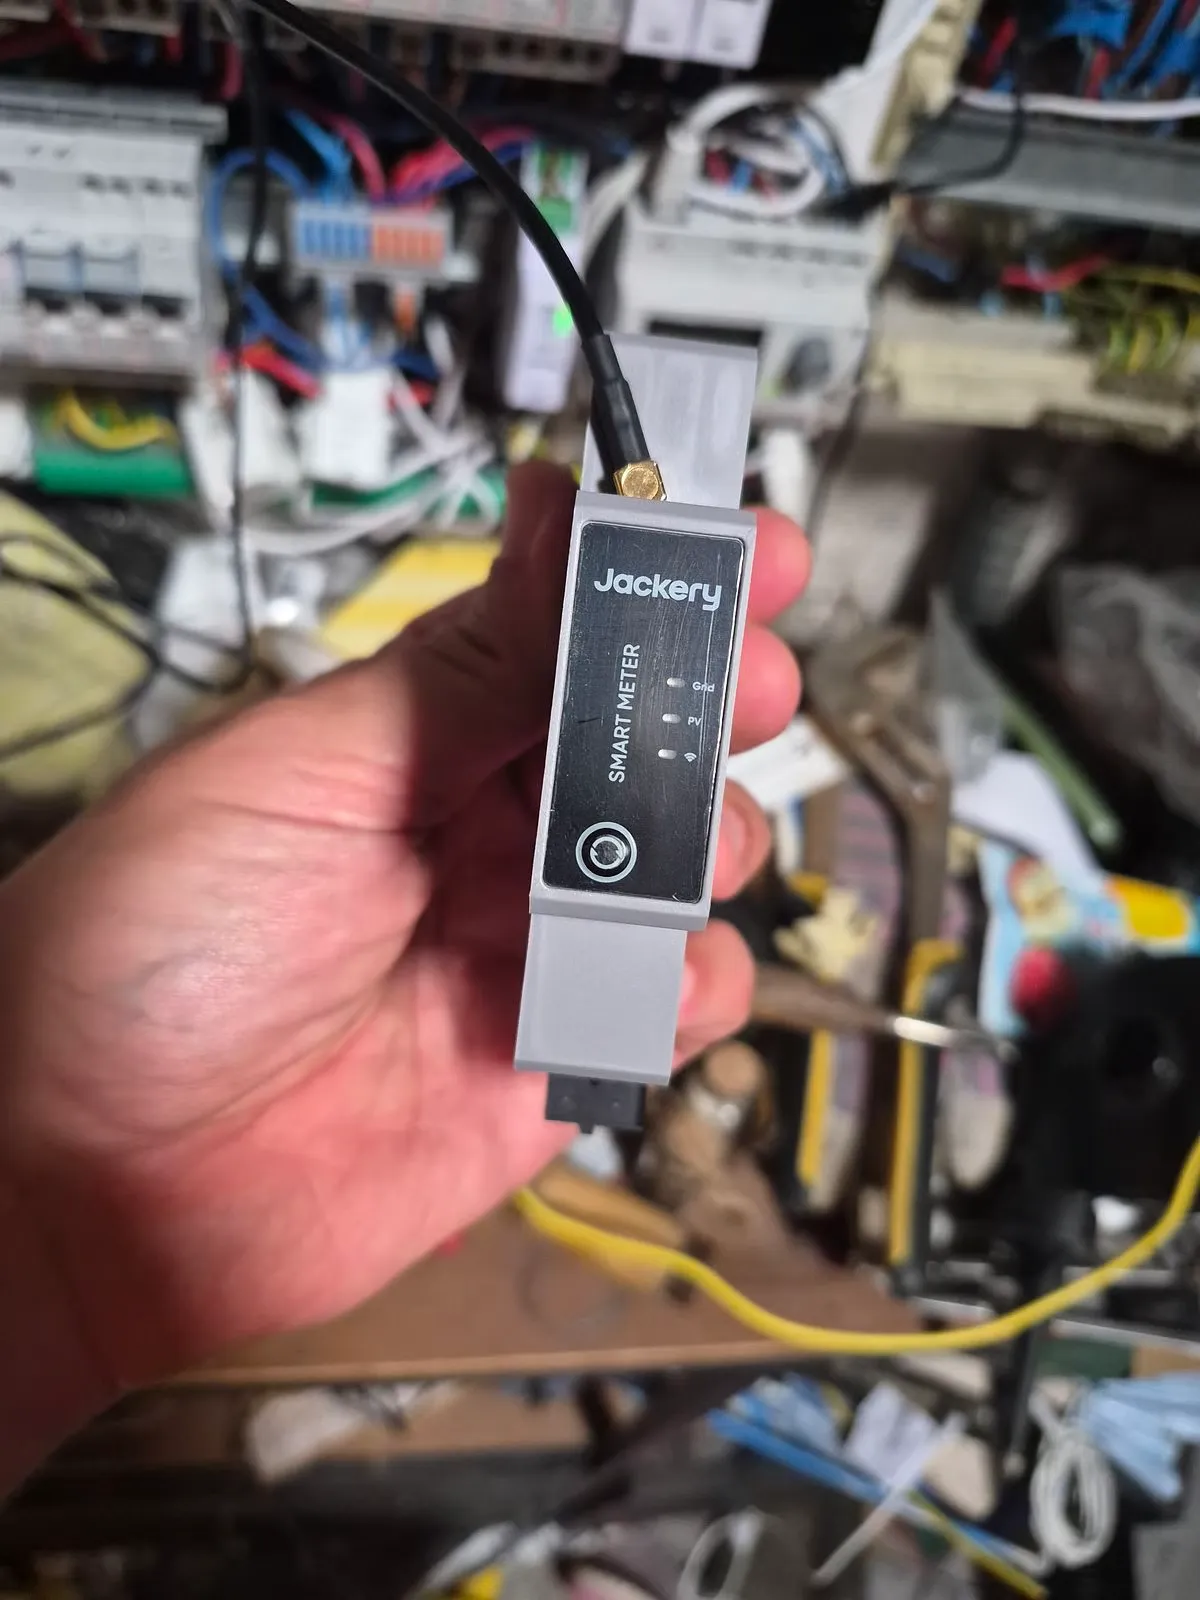
To optimize solar self-consumption, an essential accessory in our view must be installed: the Jackery Smart Meter, a connected meter. This small device monitors in real time the power consumed by the home. It transmits this measurement to the battery so that it can supply exactly the corresponding amount of electricity. As a result, almost no kilowatt-hours are wasted and fed into the public grid for free. The self-consumption rate is thus greatly improved. The battery stores what isn’t consumed and supplies only what is strictly necessary for the home.
This meter is sometimes included with the purchase of a Solar Vault 3 or during promotions, but it costs 99 euros for the single-phase version if bought separately, which is quite expensive.
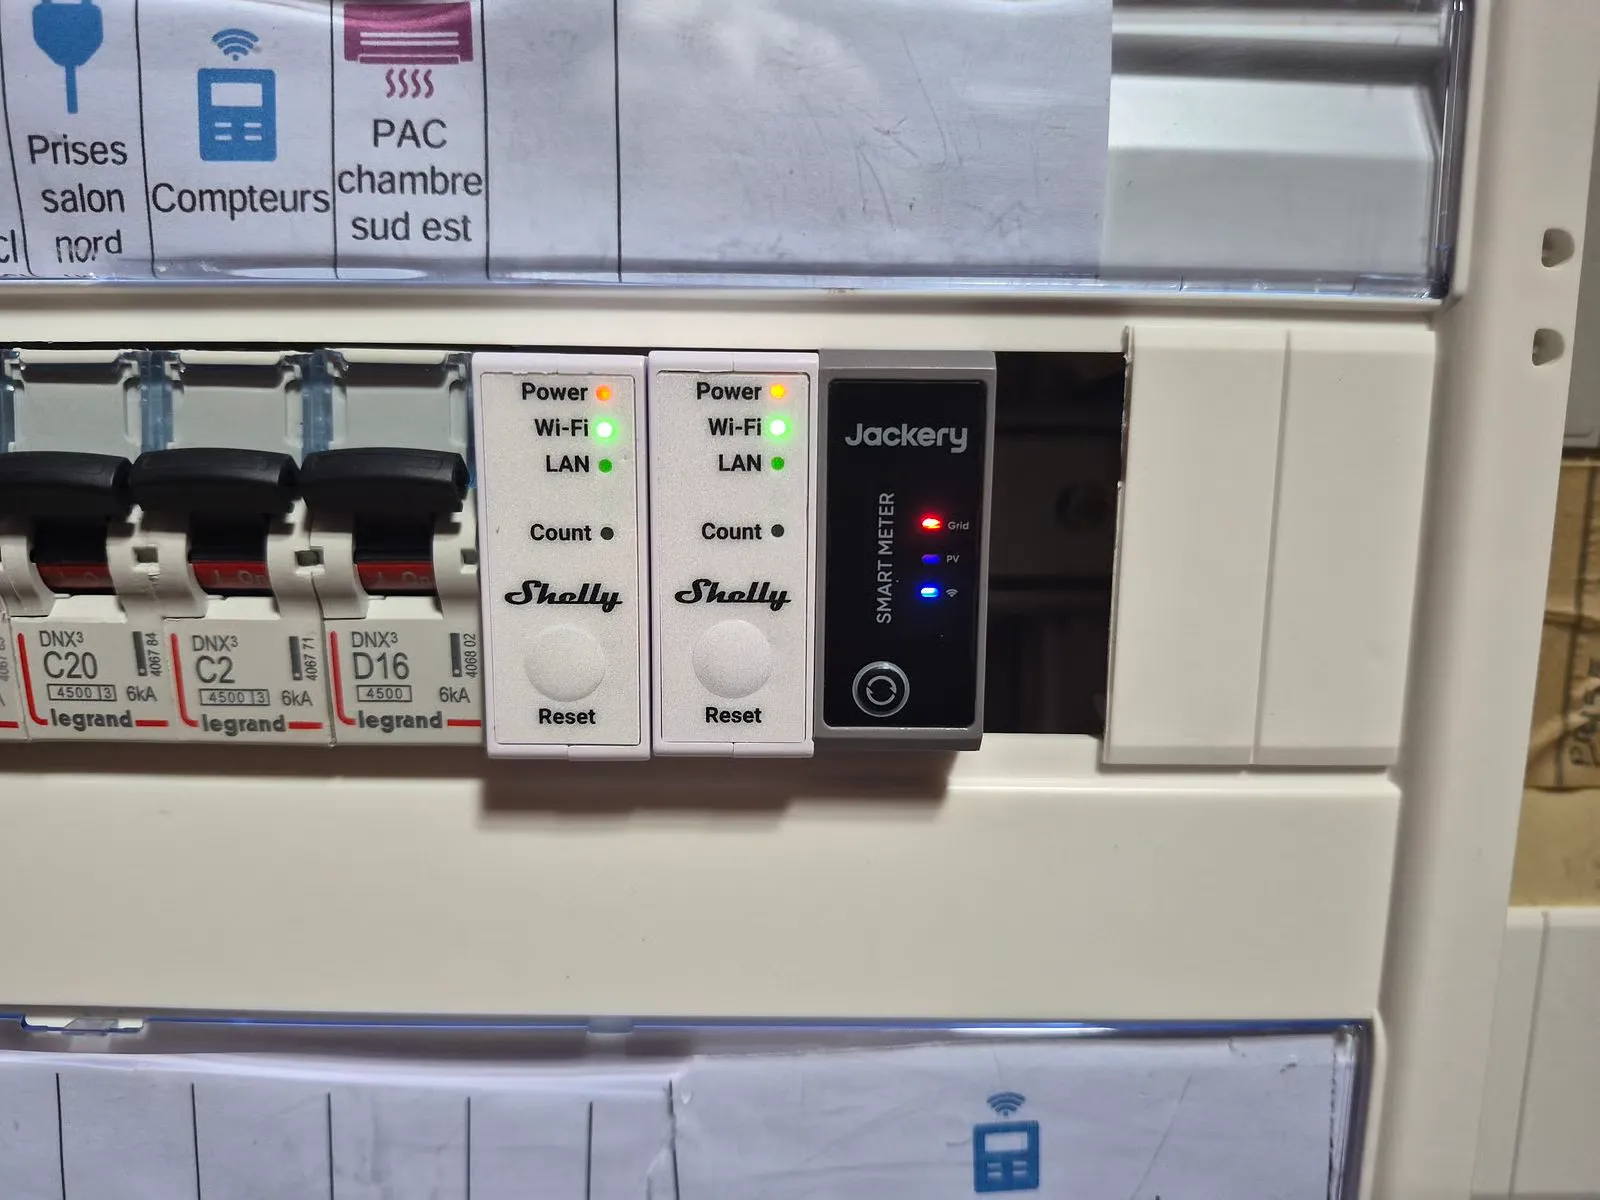
Installing the meter on the electrical panel is slightly more complicated than setting up the battery. Some basic knowledge of electricity is required. The meter must be wired downstream from a 2 A circuit breaker. It comes with a measuring clip that attaches to the main power supply phase of the home (make sure to follow the current direction indicated on the clip).
A meter with significant room for improvement
Lacking an Ethernet port compared to many competing meters, the Jackery Smart Meter must be connected to the internet via Wi-Fi. A long wired antenna is provided to improve the signal strength. An RS485 port is indeed available on the top of the meter, but there’s no way to connect it to the battery side, which is quite unfortunate. As a result, there is some latency in communication between the meter and the battery, allowing a few kilowatt-hours to be lost to the public grid.
Alternatively, the Solar Vault 3 Pro Max can be paired with other third-party connected meters, such as the Shelly Pro 3 EM. We also tested this configuration, which proved to be very inefficient. The reason was the particularly long communication delay between the two devices. With little responsiveness to changes in our energy consumption, the battery regularly injected large amounts of electricity into the public grid.
For tech-savvy users, the device is MQTT compatible, allowing it to be integrated into third-party applications like Home Assistant.
Various energy strategies configurable through the app
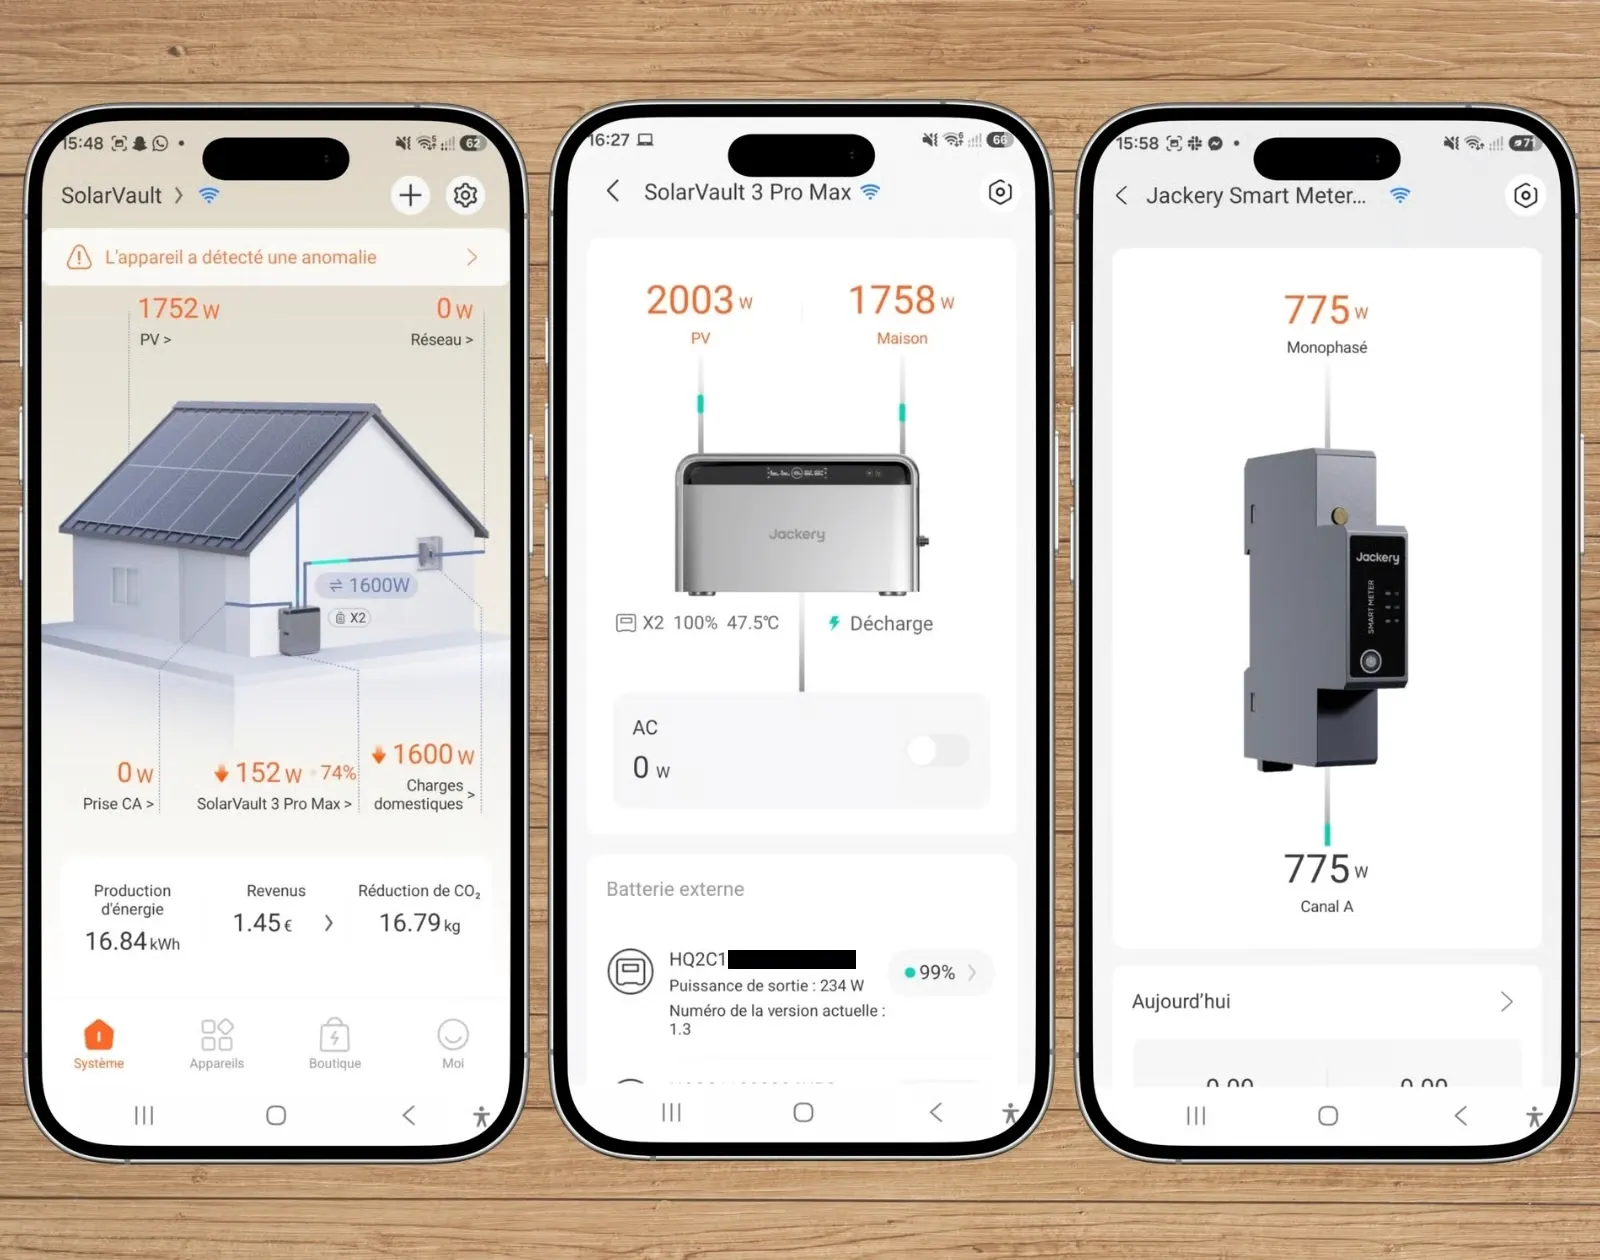
The final step of installation is done through the Jackery smartphone app. The Solar Vault 3 pairs seamlessly with it via Bluetooth (which can also be used daily if one does not want to connect the device to the internet). The app provides access to a range of generally basic settings. Starting with the most important: choosing an energy strategy.
An “AI” mode promises management based on electricity prices (useful for dynamic pricing contracts), solar production, and consumption. This mode can be fine-tuned, for example by giving slightly more preference to solar power during off-peak hours. An “off-grid” mode, which we used exclusively, allows for minimizing electricity use from the grid. A “custom” mode lets users manage charging and discharging times according to their own free hourly and weekly schedule. Finally, a “pricing” mode regulates charging and discharging periods solely based on electricity prices.
The app lacks advanced technical information
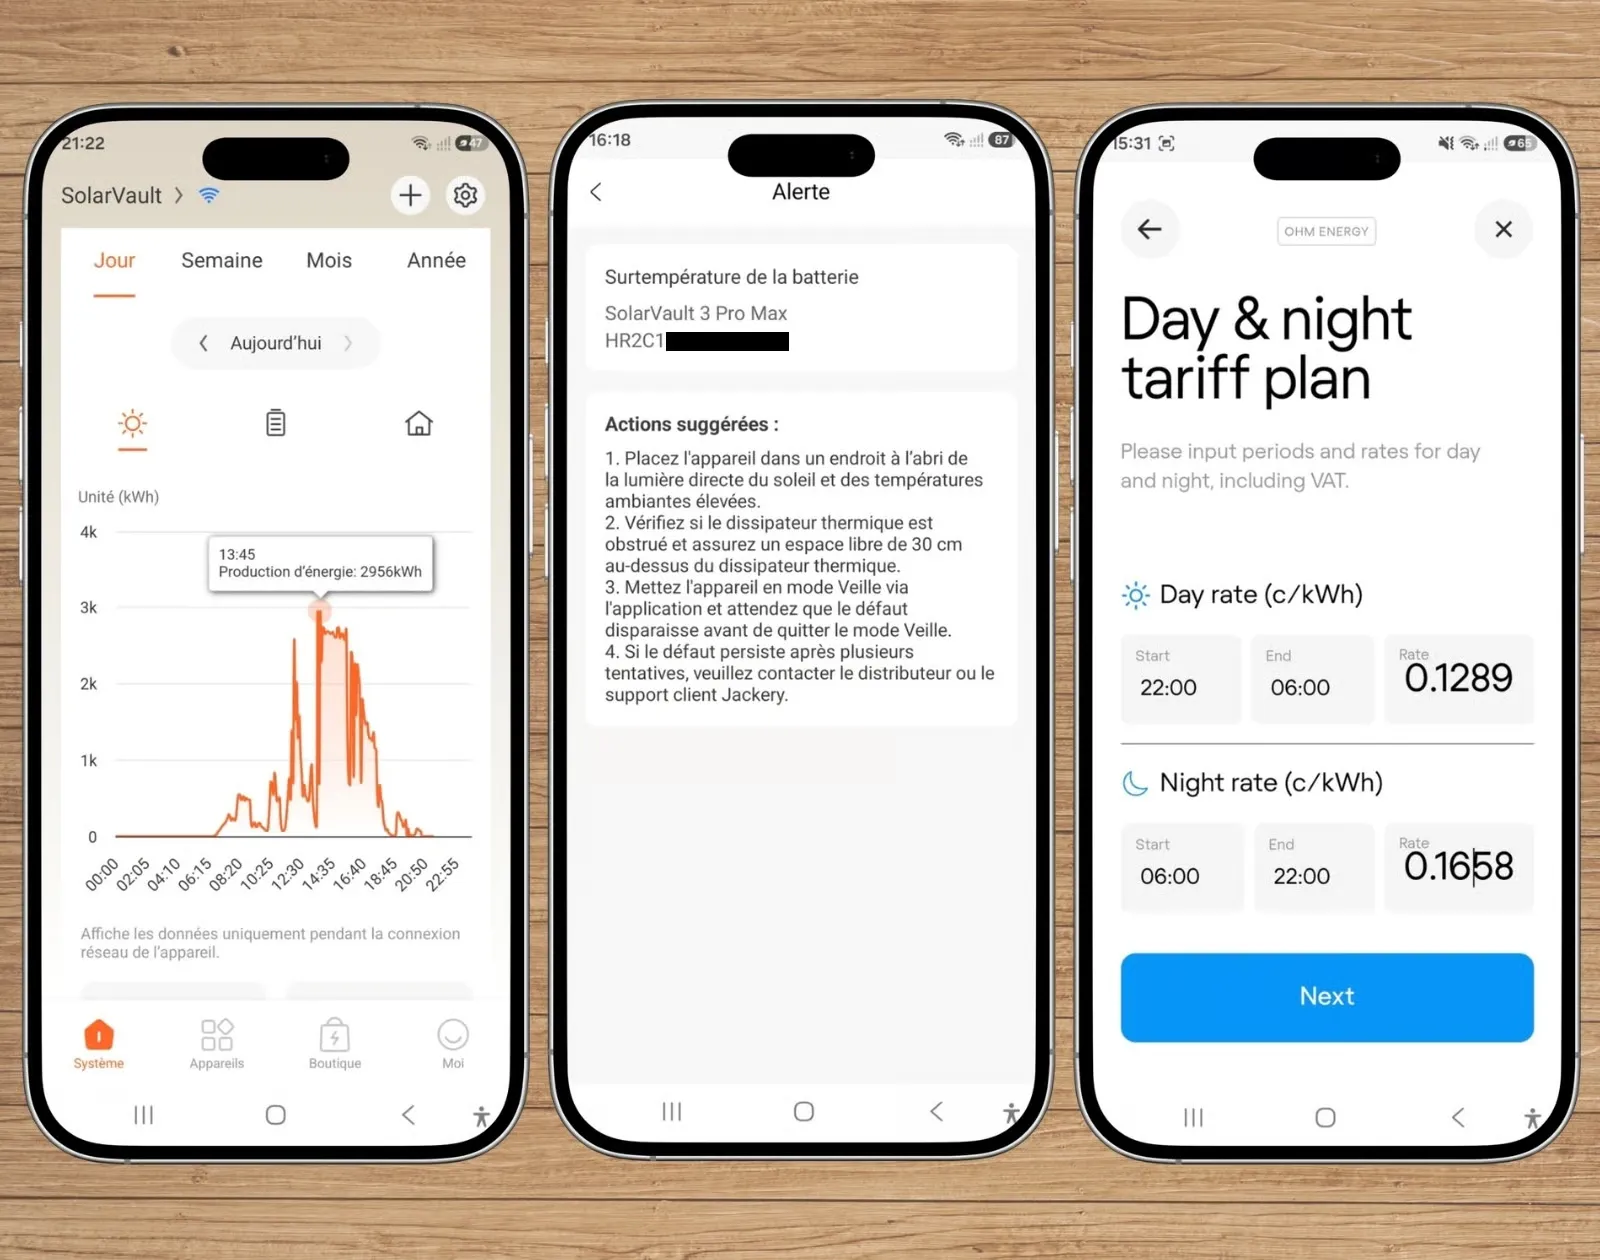
Otherwise, the app does not offer any settings or detailed information. Users can only adjust the lower and upper discharge limits, the maximum output power to the grid (900 W by default, 2500 W after accepting a warning message about electrical installation quality), and set the electricity rate. We tried to find our rates among those listed in the app for various contracts and providers, but were unsuccessful. Therefore, we had to enter them manually.
The presentation of production and consumption statistics is very simplified. There are a few temporary bugs (the power being displayed in kWh instead of kW), but they are not serious. We would have particularly liked to be able to view the battery’s health status, as done by competitor Ecoflow for example. This allows one to know detailed information such as SOH, number of equivalent cycles, usage durations at high and low temperatures, etc.
The Solar Vault 3 hates heatwaves
In practice, the battery proved to be very efficient overall. The four MPPT trackers maximized output from our two photovoltaic panel arrays, approaching their rated capacity (with peak readings of over 3100 W on arrays with a total installed capacity of 3600 Wc). However, performance dropped sharply during the first heatwaves. Installed on a south-facing balcony, the Solar Vault 3 regularly stopped generating solar power as soon as the temperature displayed in the app exceeded 42 °C (with outdoor temperatures ranging from 37 to 40 °C).
A dry loss, which we tried to compensate for by covering the battery with an umbrella. Although the device is waterproof and can be installed outdoors, the manual recommends protecting it from the sun. Shading reduced the frequency and duration of safety shutdowns, but it wasn’t enough to stop them entirely. This behavior is very frustrating as it caused a significant reduction in photovoltaic output.
Meanwhile, the battery satisfied us with its complete silence even at full capacity. Since cooling is passive, there is no ventilation noise. Unlike other competing batteries, we also didn’t notice any buzzing or hissing related to the inverter and electronics operating.
100 € saved on electricity in two months
During the two months of testing in the height of summer, the Solar Vault 3 Pro Max generated 601.8 kWh of solar electricity, of which 572.3 kWh was actually used by our home. This resulted in a savings of exactly 100 € on our electricity bill, despite the challenges posed by the heatwaves. It would take approximately six years to recoup the cost of the battery in our setup, which is not too bad. Feel free to use our home battery payback calculator to estimate the investment recovery time for your project.
Production and Self-Consumption of the Jackery SolarVault 3 Pro Max
(connected to a 3600 Wc solar panel array with multiple exposure angles)
Month
Solar Generation
(kWh)
Grid Injection
(kWh)
Self-Consumption Rate
July 2026
(battery paired with Shelly meter)
391.6
71.6
81.7 %
August 2026
(battery paired with Jackery meter)
281.8
29.5
89.5 %
Our review of the Jackery Solar Vault 3 Pro Max